Working with tables
Tables in HelpNDoc are a versatile way to present structured data or design more advanced layouts within your documentation.
Inserting a Table
To add a table to your topic:
- Open the Insert ribbon tab.
- Click Insert Table in the Items group.
- Choose one of the following options:
- Quick Insert: Move your cursor over the grid and select the desired number of rows and columns;
- Custom Insert: Click Insert Table define the table size and properties manually.
Converting text to table
HelpNDoc can quickly transform selected text into a table. This feature is useful when working with structured content such as comma-separated values, tab-delimited text, or lists that need to be organized into rows and columns.
To convert text into a table:
- Select the text in the topic editor.
- Open the Insert ribbon tab.
- Click Insert Table in the Items group.
- In the popup menu, select Convert selection to table.
The "Convert text to table" dialog box will appear, allowing you to configure how the selected text should be converted into a table.
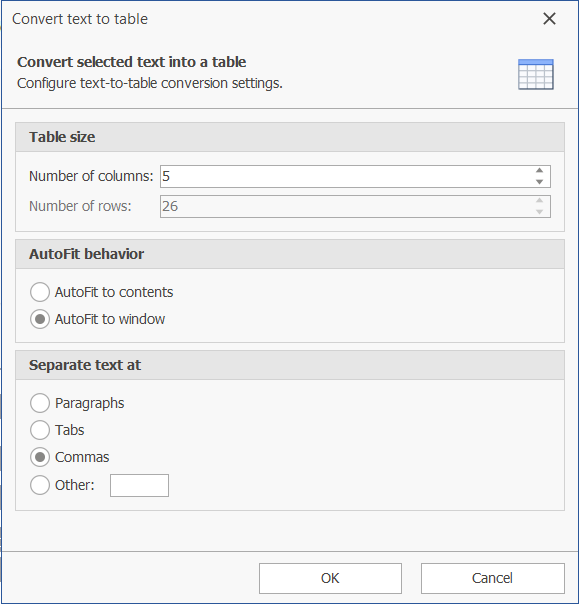
Available options include:
- Table size: Displays the number of rows and columns that will be created based on the selected text and separator settings;
- AutoFit behavior:
- AutoFit to contents: Automatically adjusts each column width to fit its content;
- AutoFit to window: Expands the table to fit the available editor width;
- Separate text at:
- Paragraphs: Creates a new table cell or row based on paragraph breaks;
- Tabs: Uses tab characters as column separators;
- Commas: Uses commas as column separators, useful for CSV-style text;
- Other: Allows you to define a custom separator character.
Click OK to convert the selected text into a table using the specified settings.
Editing and Formatting a Table

When a table is selected, the Table Tools – Layout ribbon tab becomes available, providing tools to manage and format the table:
- Modify Table Structure: Insert or delete rows and columns, and adjust their layout;
- Reorganize layout: Move rows and columns to quickly adjust the table structure without recreating it;
- Edit cells: Merge or split cells, and control alignment and positioning;
- Adjust table design: Configure borders and other formatting options;
- Sort data: Organize rows based on the content of selected columns;
- Convert to text: Transform the table into plain text using customizable separators.
Accessing Table Properties
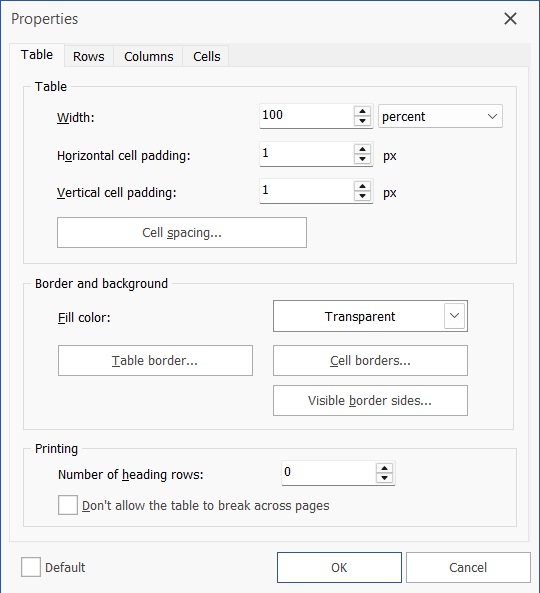
To customize a table's properties, you have two options:
- Right-click the table and select Table Properties from the context menu.
- Select the table, then navigate to the Table Tools – Layout ribbon tab and click the Table Properties button.
From the Table Properties panel, you can adjust various settings such as table alignment, cell spacing, borders, and background colors to enhance the appearance and functionality of your table.
Enabling the Default option saves the current table settings as the default for all future tables created within the project. These table's default settings (such as colors, alignment, borders, and cell spacing) are stored within the HND project file, meaning they are specific to the current project and will not affect other HelpNDoc projects.