Step-by-step guide: How to add a cover image to ePub and Kindle eBooks
ePub and Kindle eBook readers can use a cover image to display a representation of the eBook in its virtual library. It is easy to define that cover picture in HelpNDoc.
Step 1
Place the cover picture you’d like to use in your library. It’s recommended that you use a .jpg or .png that is either 600x800 or 300x400 pixels.
See: How to add an item to the library

Step 2
Click the top half of the Generate help button in the Home ribbon tab.
This displays the ‘Generate documentation’ window.
Step 3
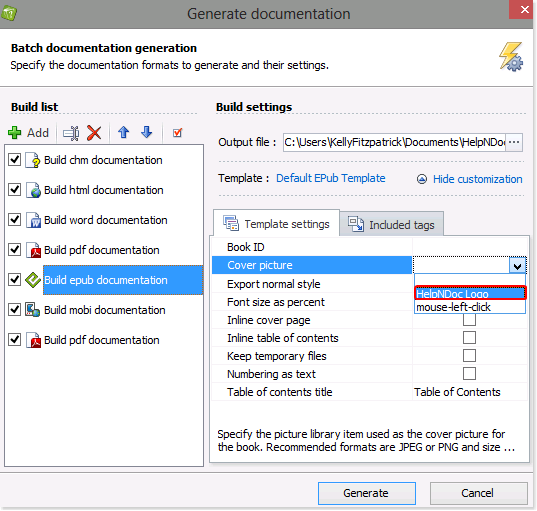
Select the ePub or Mobi/Kindle build you’d like to modify in the build list.
If the Template settings tab is not displayed, click Customize.
On the ‘Template settings’ tab, click Cover Picture.
This displays a drop-down menu of the images in your library.
Select the image that you’d like to display on the cover of your eBook.
Step 4
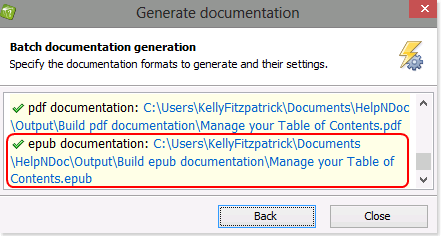
Click Generate to publish your eBook.
This displays a summary.
Click the link to view your eBook with the new cover.
HelpNDoc makes it easy to create a professional looking ePub and Kindle eBooks by providing an easy way to define a cover picture. Readers of your eBooks will be able to quickly spot it in their virtual library.