Step-by-step guide: How to convert a HLP (WinHelp) help file to a CHM (HTML Help) help file
The Microsoft WinHelp HLP file format was introduced with Windows 3.0 in 1990 as the default help file format for the Windows operating system. As of Windows 10, Microsoft doesn’t provide any HLP file viewer anymore, making this legacy help file format unusable. Fortunately, HelpNDoc can import existing WinHelp HLP file and convert them to the standard Windows Compiled HTML Help (CHM) file format.
Step 1
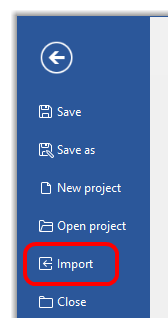
Click Import on the File ribbon tab.
This displays the ‘Import files and folders’ window.
Step 2
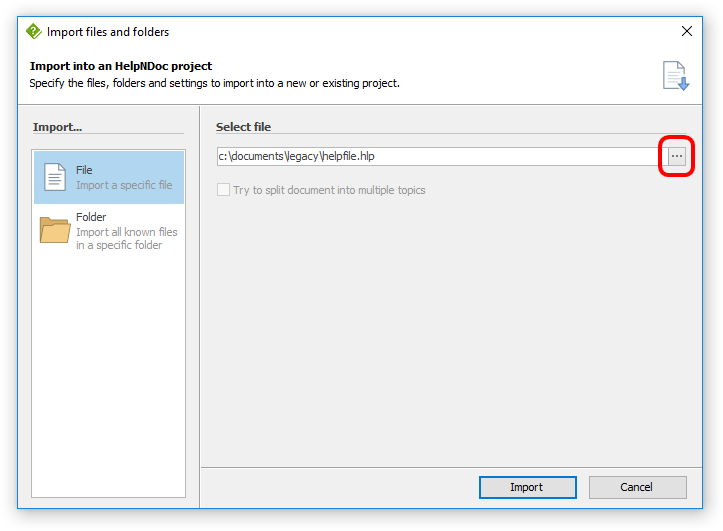
To navigate to the file that you’d like to import, click the button to the far right. This displays a window that allows you to locate the file.
Select the file and then click Open. This displays the path to that file on your page.
Then, click Import. This imports the selected file into your project.
Note: You can import folders containing multiple WinHelp HLP files into one HelpNDoc project using the Folder import action.
At this point, you can update the content of the project. Three options are outlined below:
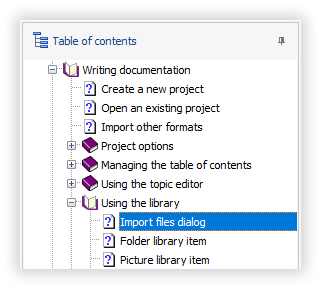
1. Maintain the table of contents
You can add new topics, rename existing topics, remove topics, and modify their order. Further information about managing the table of contents is outlined in other guides:
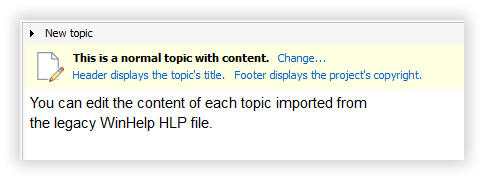
2. Update the topic content
You can update the content as well as images and hyperlinks contained in each topic. You can also check spelling.
Instructions are provided in other step-by-step guides:
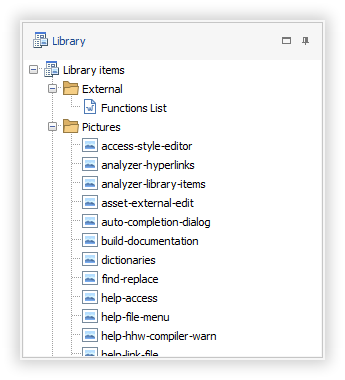
3. Manage your Library items
You can access your library, a centralized storage area that contains all of the multimedia files (e.g. images, photographs, videos, documents, HTML code, variables, and snippets) that are shared across the entire project.
Detailed instructions for managing library items are provided in other guides:
Step 3
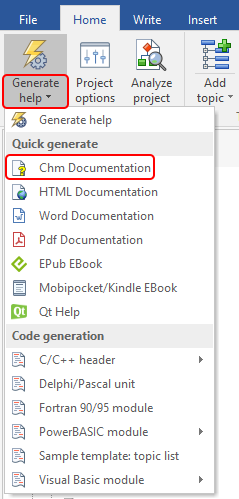
Click the lower half of Generate help in the Home ribbon tab.
This displays a menu of publishing outputs.
Select Chm Documentation.
This generates a CHM help file of your legacy WinHelp HLP help file.
Step 3 Alternative
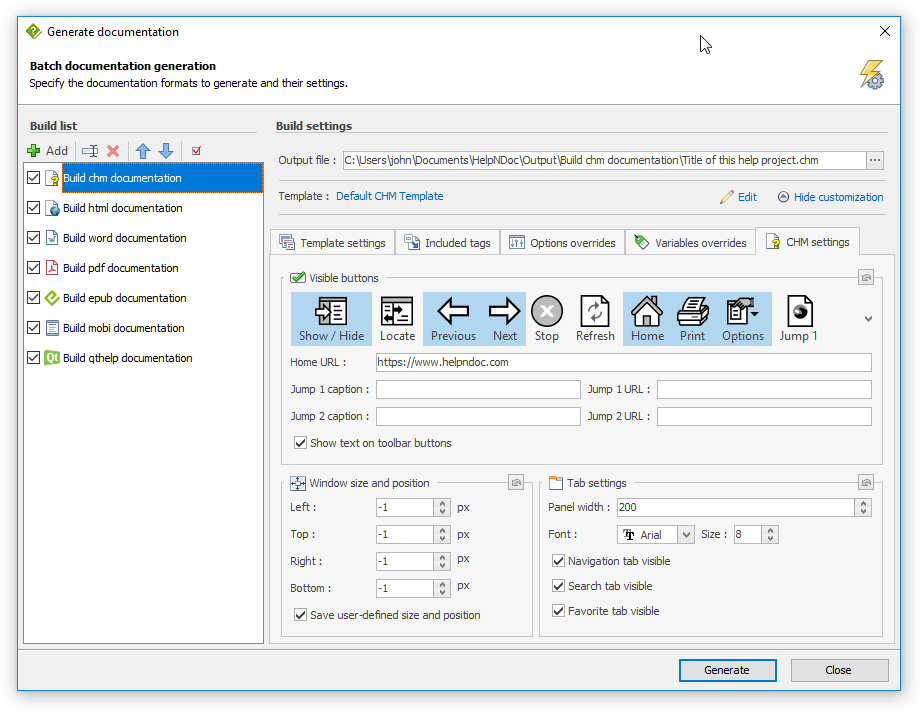
You can click the top half of Generate help in the Home ribbon tab to access the advanced CHM settings.
This displays the ‘Generate documentation’ window.
Select Build chm documentation in your build list.
If the CHM settings tab is not displayed, click Customize.
After you update the settings, click Generate to publish the CHM help file.
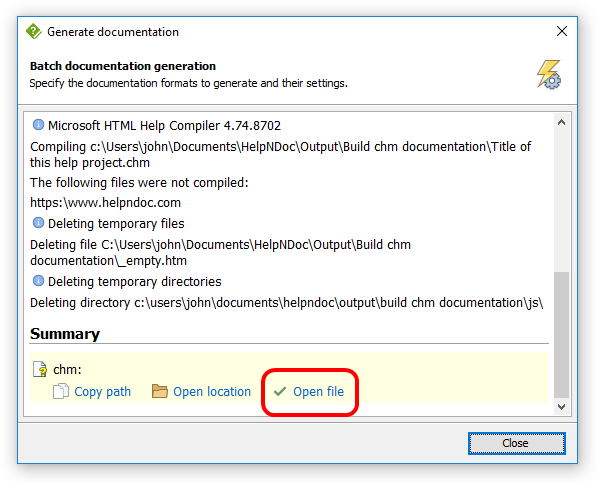
Step 4
This displays a summary.
Click the “Open file” link to view your CHM help file.
HelpNDoc can import any existing WinHelp HLP help files and generate multiple documentation formats, including modern Compiled HTML Help files: it is extremely fast and easy to convert existing WinHelp HLP help files to other formats.