Step-by-step guide: How to open HelpNDoc's image editor
HelpNDoc’s image editor is a versatile tool designed to streamline the process of incorporating and customizing visuals within your documentation. Offering a user-friendly interface and a variety of editing options, this feature ensures that users can easily enhance the quality and relevance of images and graphics, thereby improving the overall effectiveness of their documents.
Step 1
To open the image editor, you first need to access the image library item’s properties dialog.
There are multiple ways to achieve this:
From the topic editor:
- Double click on the image in the topic editor
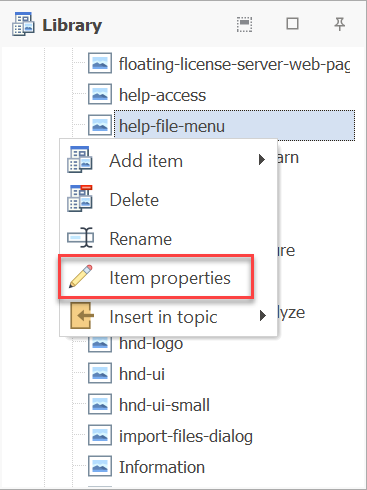
From the library panel:
- Double click on the image library item
- Right-click on the image library item; then click “Item properties”
- Select the image library item; then from the “Home” ribbon tab, in the “Library” group, click “Item properties”
This displays the library item’s properties dialog.
See also:
Step 2
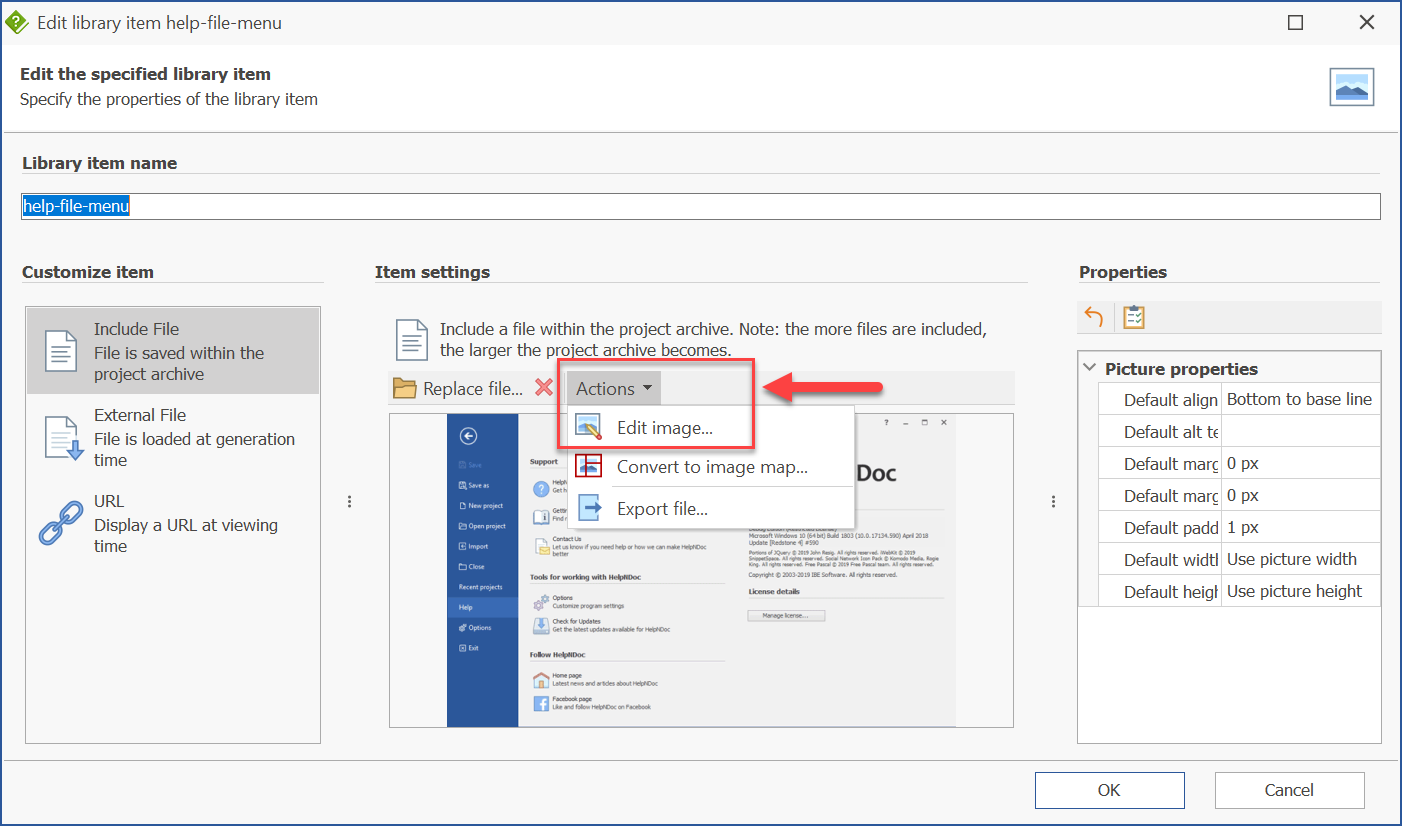
To open the image editor:
- Click the “Actions” button
- Click “Edit image…”
This opens the image editor for the selected image library item.
Note: This might not be accessible from all editions of HelpNDoc. Check HelpNDoc’s feature matrix to see which editions support this feature.
Having successfully opened HelpNDoc’s image editor by following these steps, you can now explore its various features. Don’t hesitate to follow our next guides to delve deeper into how you can utilize this tool to enhance your documentation further.