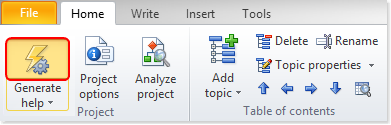
Step-by-step guide: How to create a new documentation output to be published
Your HelpNDoc documentation can be published in multiple formats. It can also be published multiple times with different content and settings in each of those formats. Let’s see how easily this can be done.
There are two simple steps for creating a new publishing output.
Step 1
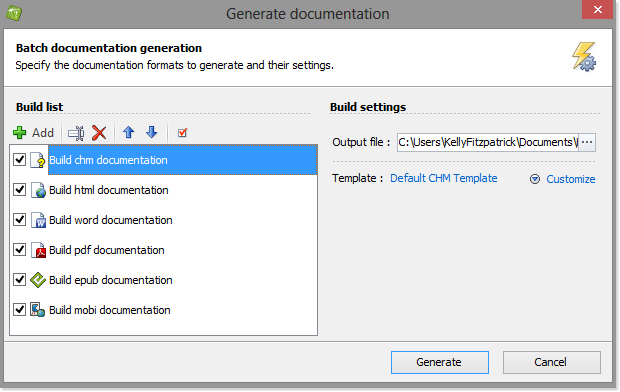
Each output and its format is listed along the left-hand side in your build list.
The outputs with check marks will be published the next time you generate the documentation from your build list.
Step 2
In this next step you’ll select the format for your new output. There are two ways to do this:
Option 1
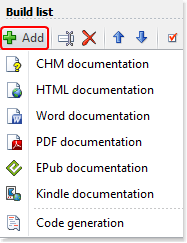
Click Add to display the formats that HelpNDoc offers.
Click the format that you’d like to use.
This closes the menu and displays the new output in your build list.
Option 2
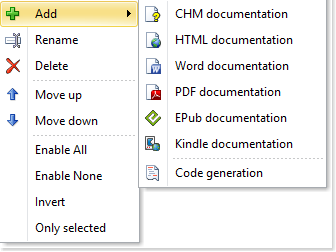
Right-click your build list.
This displays the formats that HelpNDoc offers.
Select the format that you’d like to add.
This closes the menu and displays the new output in your build list.
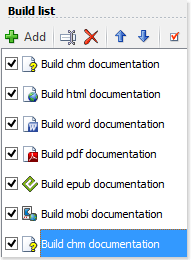
By default your new output is listed at the bottom of your outputs and has a check mark next to it, indicating it’s been enable. As a result of being enabled, this output would be published next time you generate documentation using your build list.
To disable an output, click the check mark to remove it. This maintains the output in your build list but does not publish that output.
You can assign an output a new name, update the settings that are used when generating documentation, and change the order of your outputs. These steps are covered in other step-by-step guides:
- How to rename a publishing output in HelpNDoc
- How to define build settings in HelpNDoc
- How to reorder your publishing outputs in HelpNDoc
See also
- Secure Your PDF Documents Effortlessly with HelpNDoc
- Streamlined Build Asset Management and Table Formatting Defaults for Faster, More Organized Documentation in HelpNDoc 9.7
- New FTP Actions, Improved PDFs, Overridden Library Items, and More in HelpNDoc 9.0
- Empowering Technical Writers: Harnessing HelpNDoc's Override Features for Unlimited Documentation Variations
- How to add a cover image to ePub and Kindle eBooks