
Working with anchors
Anchors define named locations within a topic. They can be used as destinations for hyperlinks, making it possible to link directly to a specific section or position instead of only to the beginning of a topic.
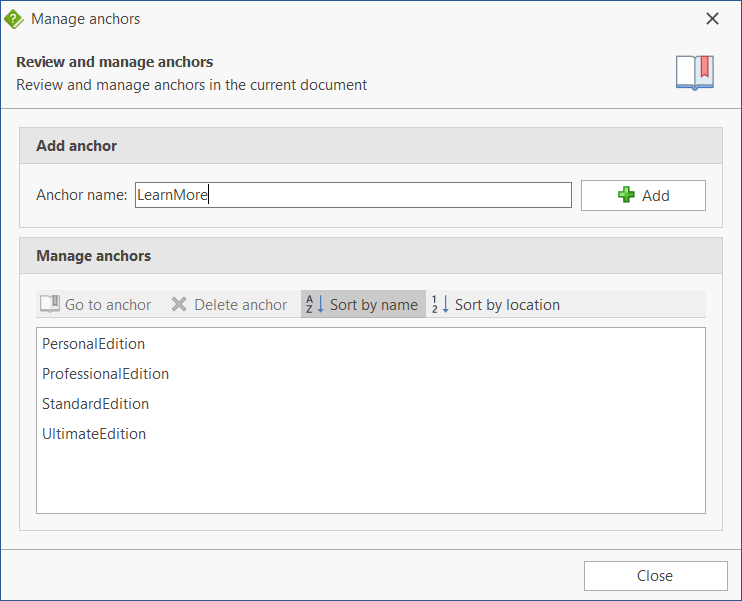
Managing anchors
To manage anchors in the current topic:
- Open the Insert ribbon tab.
- In the Links group, click Anchors.
- The Manage anchors dialog is displayed.
From this dialog, you can add new anchors, navigate to existing anchors, remove anchors, and change how the list of anchors is sorted.
Adding an anchor
To add an anchor:
- Position the cursor at the location in the topic where the anchor should be created.
- Open the Manage anchors dialog.
- Enter a name in the Anchor name field.
- Click Add.
The anchor is created at the current cursor position and appears in the list of anchors.
Use a short and descriptive name that identifies the destination clearly.
Going to an anchor
To quickly locate an existing anchor:
- Select the anchor in the Manage anchors list.
- Click Go to anchor.
HelpNDoc closes the dialog and moves the Topic Editor to the anchor's location.
Deleting an anchor
To remove an anchor:
- Select it in the Manage anchors list.
- Click Delete anchor.
Deleting an anchor removes the destination from the topic. Any hyperlinks that reference the deleted anchor may no longer lead to the intended location.
Sorting anchors
The anchor list can be organized in two ways:
- Sort by name displays anchors alphabetically.
- Sort by location displays anchors according to their position in the topic.
Sorting only changes how anchors are displayed in the dialog. It does not change their position in the topic.
Linking to an anchor
Anchors can be selected as destinations when creating or editing hyperlinks. This makes it possible to link readers directly to a precise location within a topic. For more information about creating links, see Link to a specific topic.